I was building an interaction in Lectora and came across a very useful feature that gave me the ability to group some reusable actions together outside a single object. The issue I saw very early on during production was that I had two different objects calling the same type of triggers. Being new to Lectora I immediately thought I would have to add the same triggers to every object that needed to do the same thing. This would create many different actions all doing the same thing which would make any future updates a nightmare.
Luckily I came across a very handy feature, this feature allows me to group multiple actions into one group which is not attached to any single object and could be called to run from any object. This is very similar to having a function within actionscript (or any other coding language) allowing more than one object on the stage call that function (or action group).
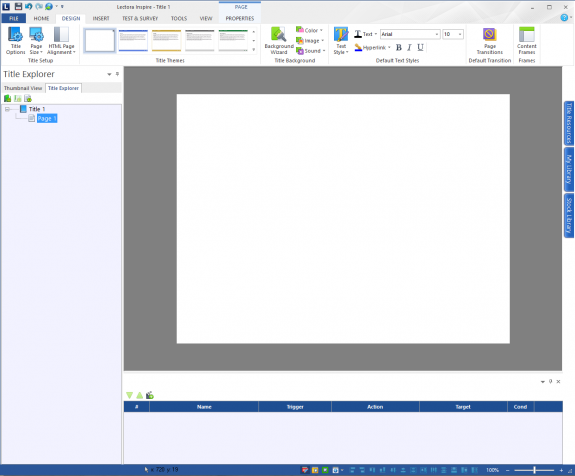
I'm going to take some time and walk you through how to set up a action group within Lectora 11 as well as show you how to call that action group from more than one object. So the first thing you want to do is either pull up an existing title or create a new one inside of Lectora.
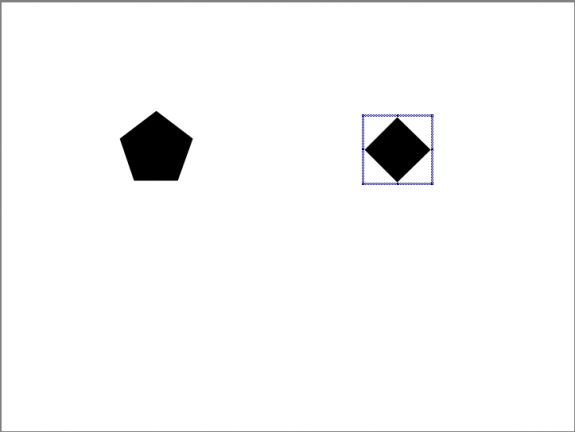
Now we want to add two shapes on the stage. We are going to hide and show these shapes in our action group.
Now that we have the shapes we are going to use to hide and show we need to add some buttons, in this example we will have 2 buttons that basically do the same thing. Instead of having the actions on each button we are going to create an action group and both buttons are going to call the same action group.
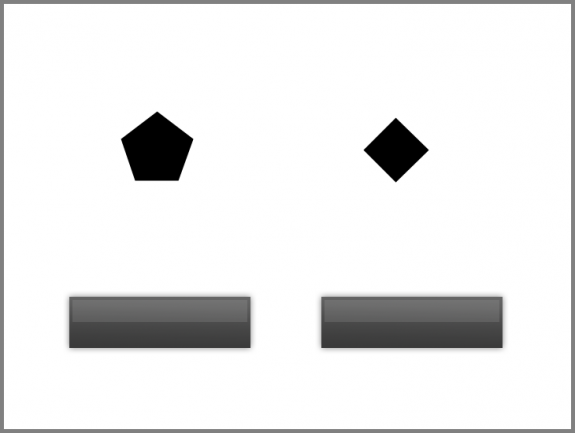
In this example I have decided to insert two custom buttons. Both of these buttons will toggle the show/hide action that comes default in Lectora. Within the tabs in Lectora you will want to navigate to the "Insert" tab.

In the "Add More" section you will see the button labeled "Group".

This will insert a group into your title explorer area without actually adding something on the stage. By default it will be labeled "Group 1".

You could really change that to anything you want. I suggest changing it to something that helps you remember what all the actions do in this group.

With that group selected you can now start adding actions. Since you are in the insert tab it is easiest just to select the action button in the "Add Navigation and Interaction" section.

From here you just need to create your two actions to toggle show/hide on both shapes.

We are almost done. From here all we need to do is call this action group from any other object. The benefit here is if we need to change this action group we do it in one spot rather than having to go to each object to make changes to all the actions on every group.
Select the default action that gets created on each button.

Then in the actions window select the button to add a new action.
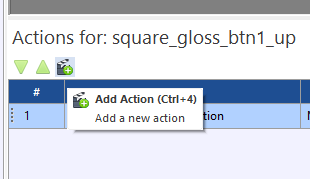
Or you can modify the one already created by just selecting the action and going up to the actions tab.

In the "Action and Target" section, select the symbol labeled "No Action". From the drop down box select "Run Action Group".
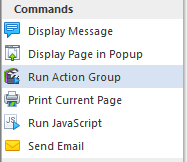
This will change the "Action and Target" section slightly giving it a new drop down box labeled "Target". From this drop down box you select the group with all your actions and this is where naming your groups come in handy.

Now you do the same thing on the other button and that is it! Both buttons call the same group so you don't have to repeat the same actions more than once and it makes it easier to update or change the group of actions rather than change the same actions in more than one spot. You can trigger this action group from any Lectora type trigger.
