PowerPoint is arguably the most prolific presentation software out there. It’s simple enough that most people can easily learn to work within it. That’s why when most organizations start their training programs they typically build all of their content in PowerPoint® for instructor lead training. Within the last couple of years, many organizations have seen the need to create online learning programs and would like to convert their existing PowerPoints into eLearning.
Lectora® has had the ability to import PowerPoints and convert them to eLearning for quite a while, but the most recent update to Lectora Online brings with it a much-improved version of this popular feature that gives more control and flexibility when importing the PowerPoint file. You also get improvements to how we handle many objects that are imported into Lectora.
Watch the video or read below to see the process.
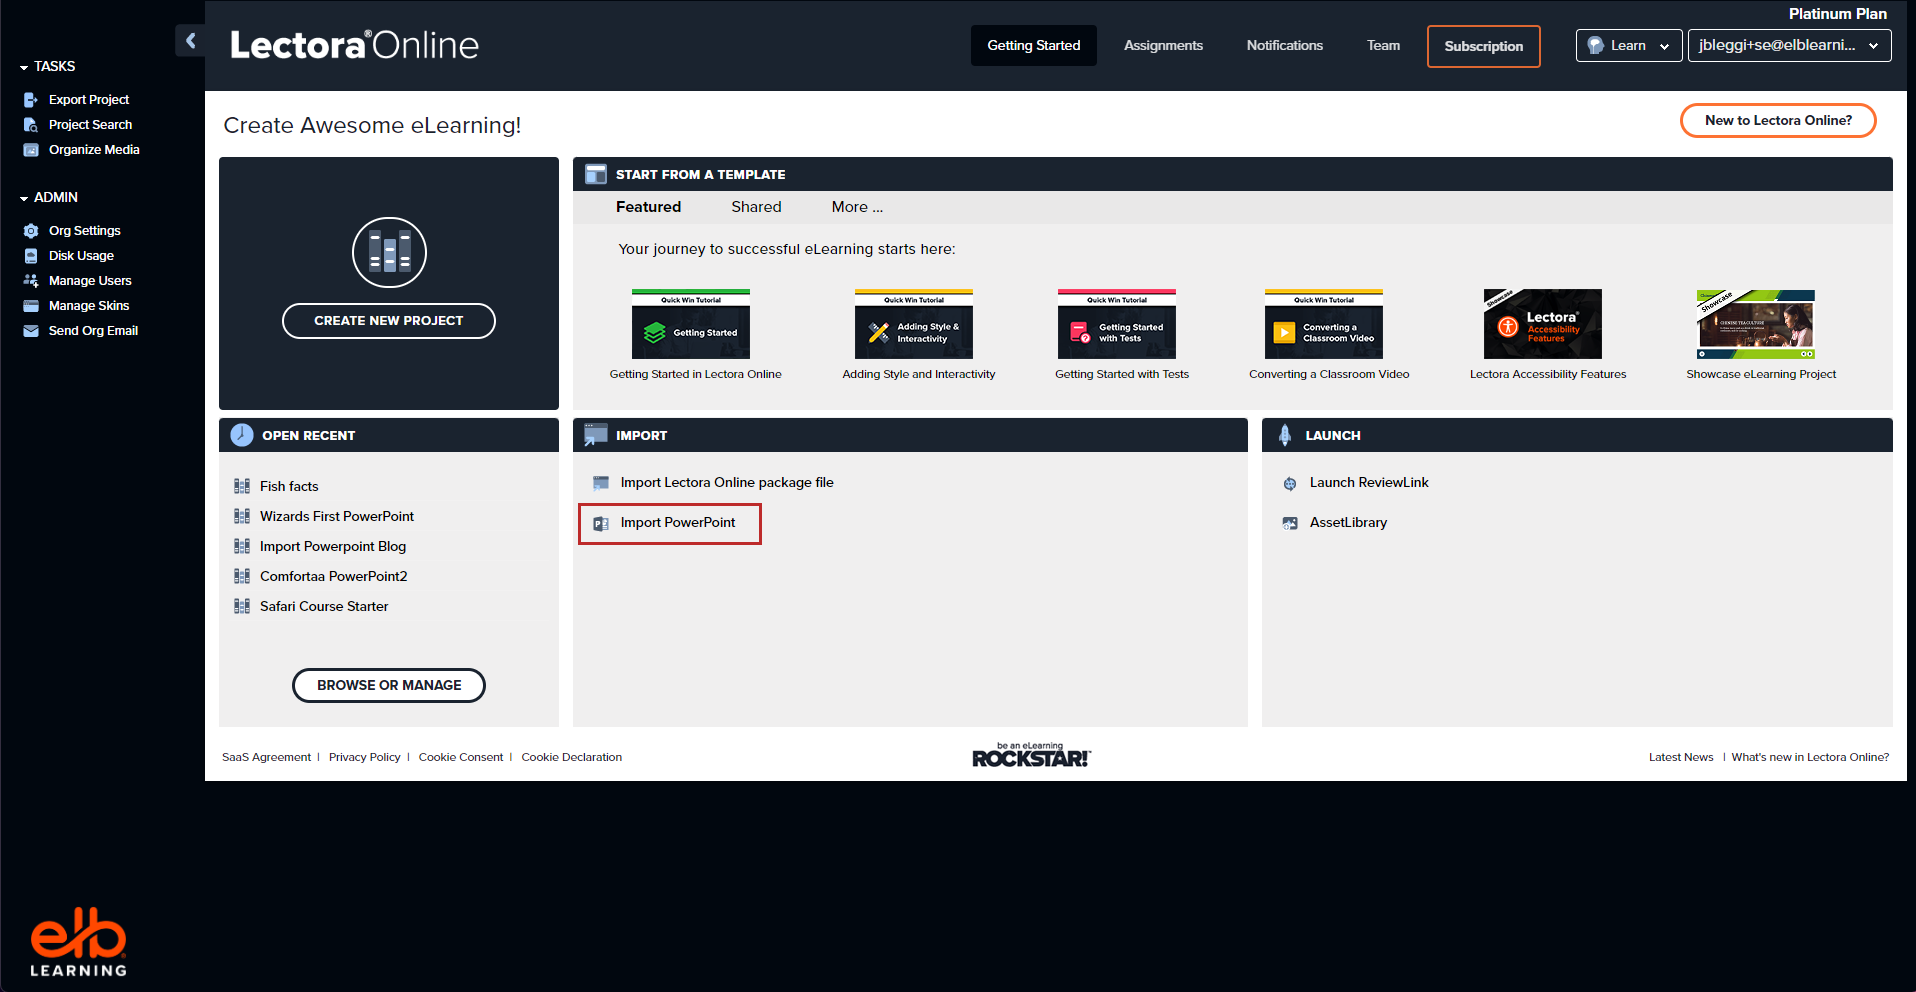
- On the Getting Started Dashboard Select Import PowerPoint from the import menu.
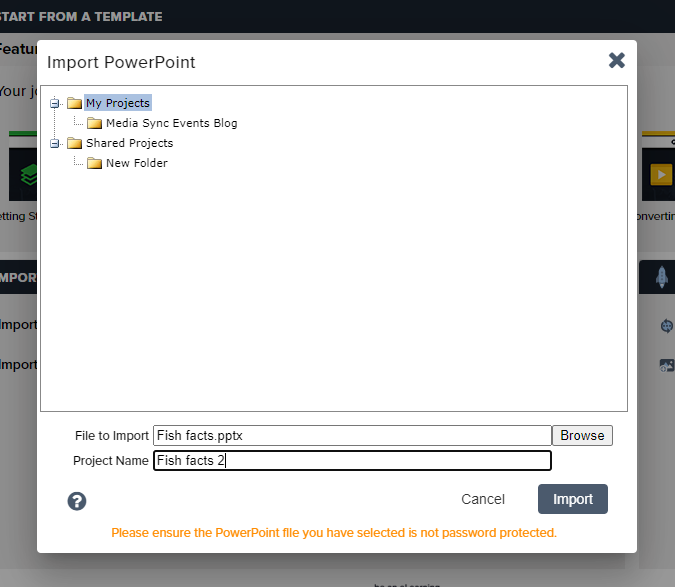
- Select Browse and Locate the PowerPoint file you want to import, then select Import.
- The Import PowerPoint Dialog box will now appear and present you with a wide variety of options to control how your PowerPoint imports.
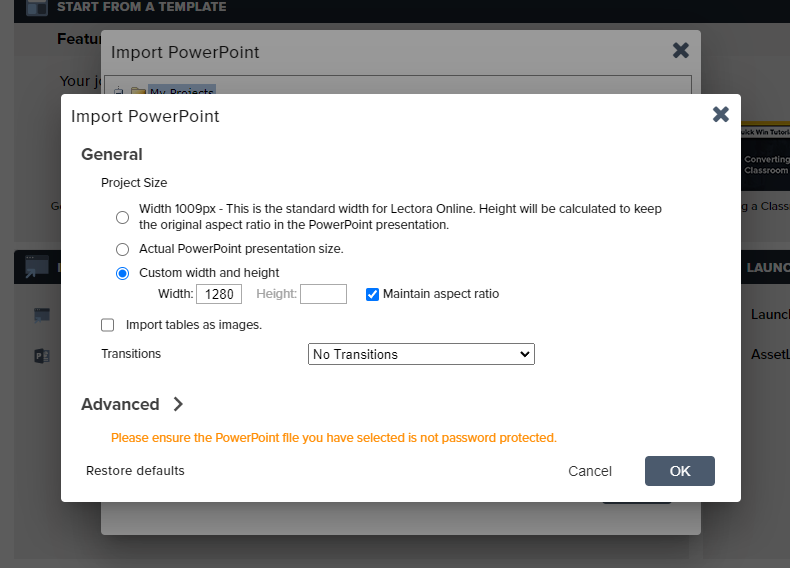
- Project Size - Here you have options for the size of pages your PowerPoint Slides will create in Lectora Online. You have three options:
- Width 1009 - This is the standard Lectora page width. Lectora will calculate the height of your page to keep the same aspect ratio of your PowerPoint file.
- Actual PowerPoint presentation size- This will bring in the PowerPoint at the size that is presented to Lectora as the original size of the PowerPoint presentation.
- Custom Width and Height - Here you have the ability to set your own page size to whatever you want. You can even select Maintain aspect ratio to let Lectora calculate the appropriate height based off your width.
- ONE IMPORTANT NOTE: PowerPoint gives you some basic options for your slide size. Typically this with either be 4:3 or 16:9 aspect ratio. You then have the ability to create any size slide you wish, but you measure that in inches not pixels. So there really is no way to know how big your PowerPoint is in pixels. Selecting “maintain aspect ratio” may serve you the best in this instance.
- Transitions - We now support more of the transitions from PowerPoint, however, we don’t support all they have to offer. From this menu you can select whether you would like to have the file brought in with No Transitions, Only Supported Transitions or to have them Remapped to Supported Transitions.

- Under the Advanced Options you can control a few more aspects of how your file imports.
- Image Format - PNG , JPG, or GIF. By default, this is set to PNG as that is the most popular image format.
- Add PowerPoint Style Advance - This will add actions to the project to advance pages by enter or spacebar keystroke. This is how you typically advance slides in PowerPoint. However, this might be a little confusing if this is going to be self-guided eLearning. I would recommend either deselecting this and including standard forward and back eLearning navigation, or including instructions on how to advance with the keystroke to avoid confusion.
- Import groups of shapes as images - This allows you to determine how Lectora interprets groups of shapes and whether they are turned into images or kept as editable shapes.
- Remapping of shapes - Some of the shapes available in PowerPoint are not available in Lectora. This will control whether those will remap to supported shapes or just come in as images if they are not supported.
- Under the Advanced Options you can control a few more aspects of how your file imports.
- Project Size - Here you have options for the size of pages your PowerPoint Slides will create in Lectora Online. You have three options:
- Once you have configured all of these parameters to your liking, Select OK.
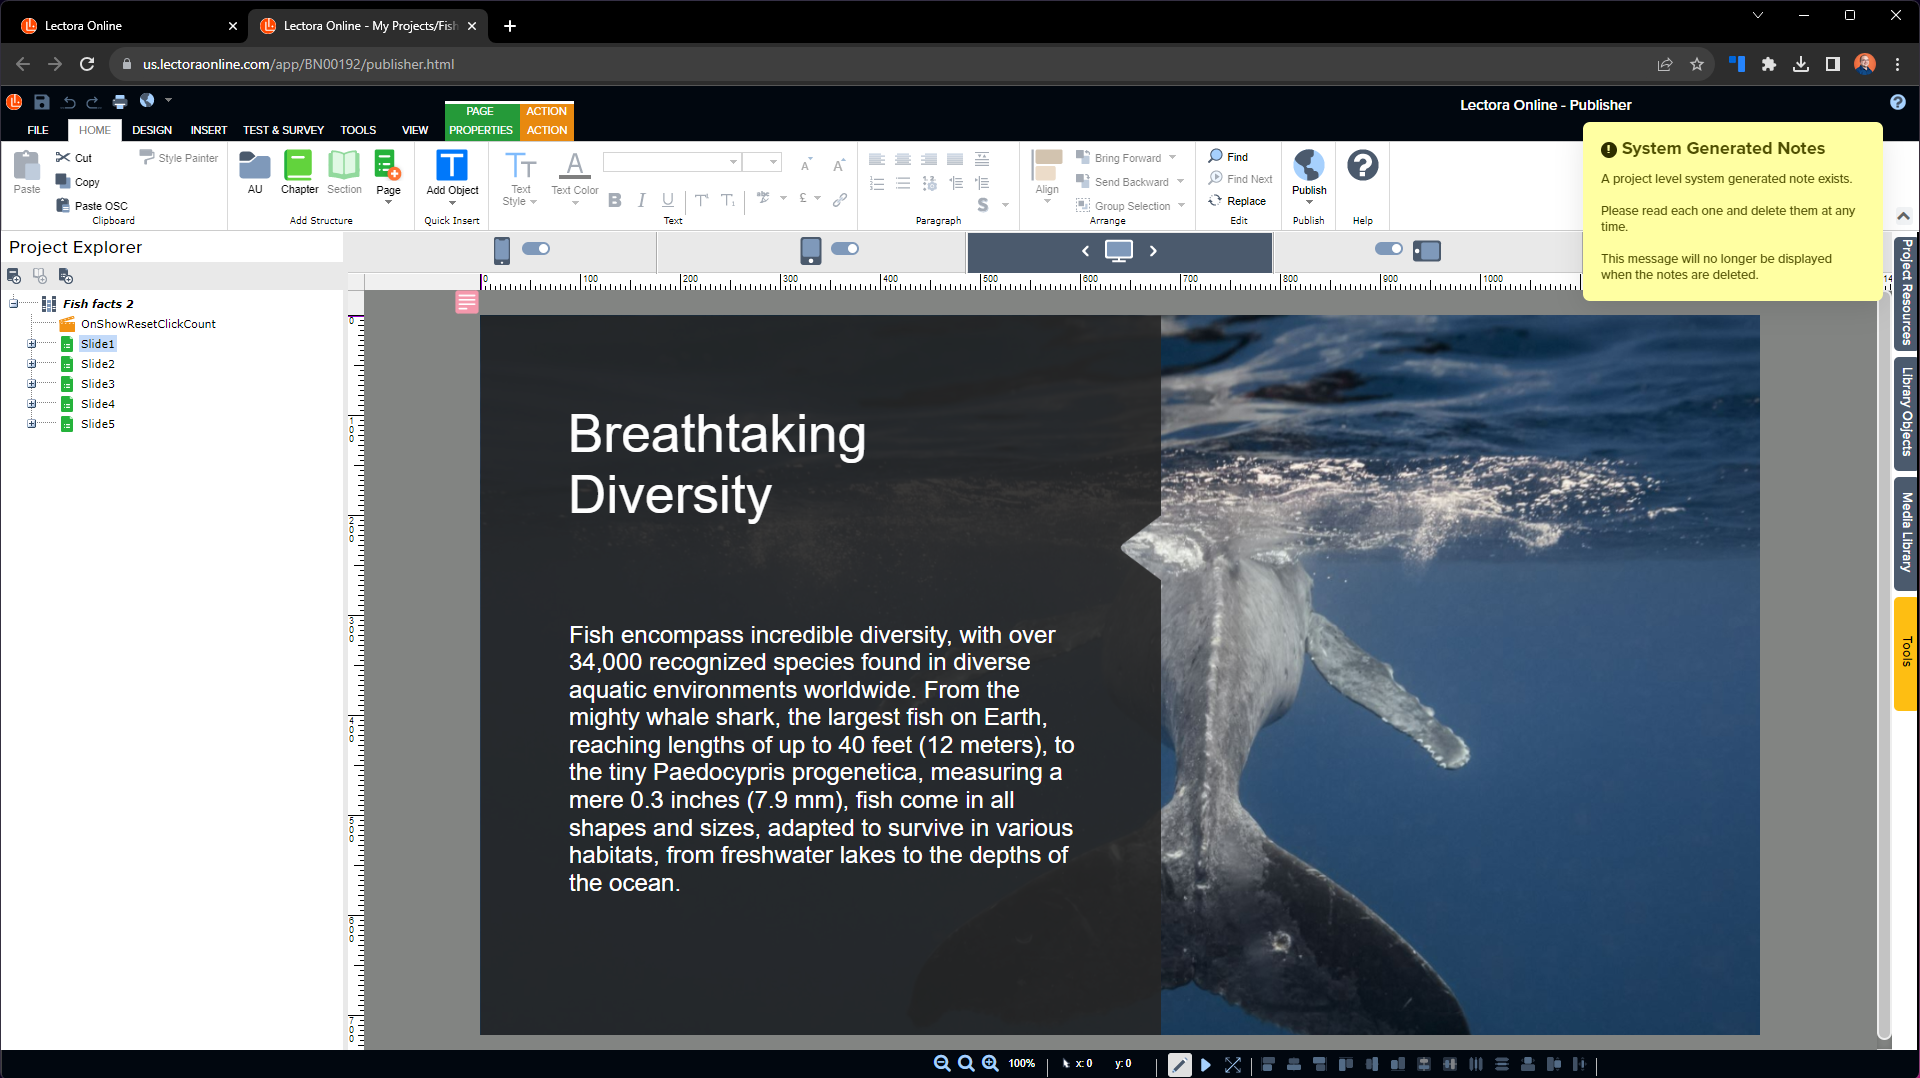
Since it comes in as a standard Lectora Online Project, you’ll probably want to go to the Design Ribbon and under Project Options switch it to AICC and SCORM Published Projects. Additionally, to ensure it’s ready to publish to SCORM, you’ll want to include a graded test.
Feel free to give this new feature a try for yourself and be on the lookout for more tips on how to use PowerPoint and Lectora together to create powerful learning experiences.